 |
| The finished product! These are our last set of stair stringers. |
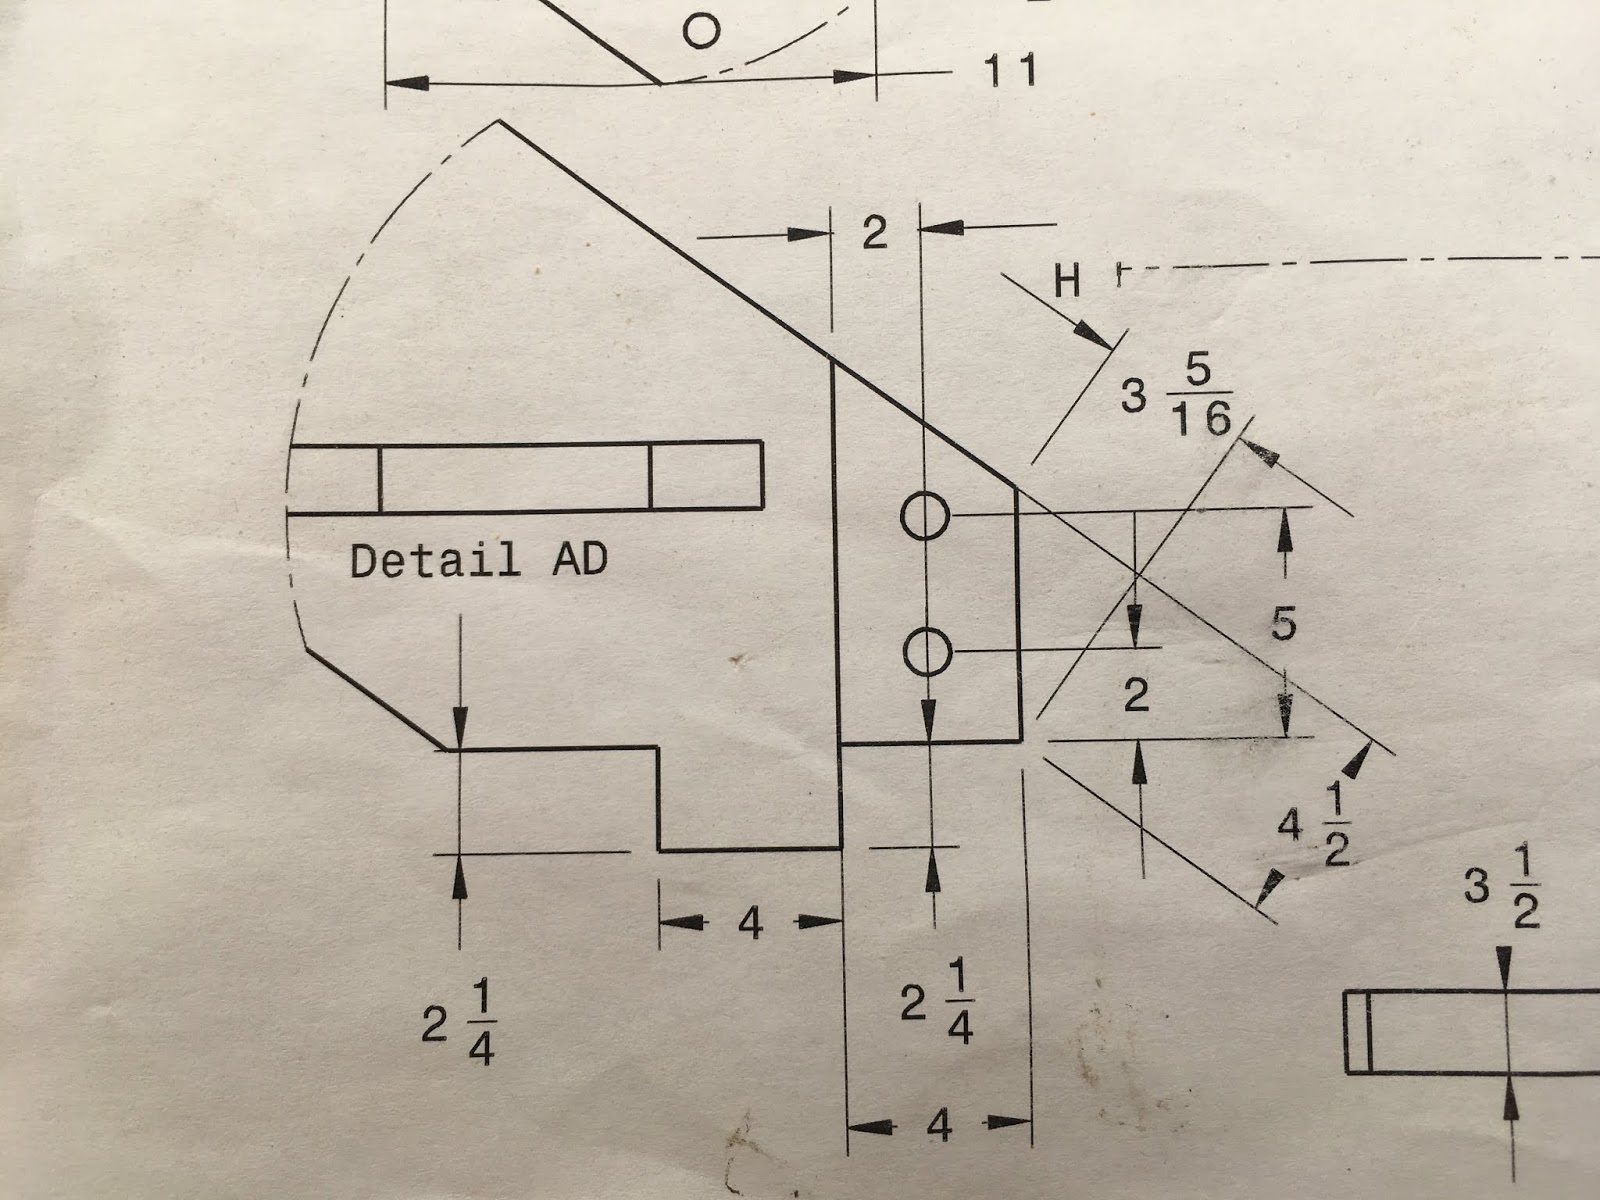
I thought it would be fun to share the process from drawing to final beam. This week I finished the last and longest set of stringers. They were fun but tedious at times as I worked on 16 back-to-back mortises!
 |
| 1. After planing the beams, the first step is to lay them out. |
 |
| This is what I start with. Warren made a drawing for every piece in the house! |
 |
| I layout both sides. Accuracy is key! |
 |
| 2. Next I cut the two ends using a Skil saw and a handsaw. |
 |
| 3. Here's the fun part where I drill out the mortises... |
 |
| I drill halfway through from both sides with a 1.5" bit to prevent blowout. This means I have to drill ten holes per mortise. |
 |
| These were the longest set of stringers with eight steps. That means I had to drill 160 holes total for all the mortises! |
 |
| 4. After the mortises are roughed out, I clean up the long edges with my 2" Barr chisel (again from both sides so there's no blow-outs). |
 |
| 5. Next I square out the edges of the mortises. *Side note: Belly has exceeded size of bum!* |
 |
| Here's how it looks after the mortises are all squared up. (Also featured is a cute little owlish knot). |
 |
| After sixteen mortises in a row my forearm, elbow, and oddly my pointer finger are very sore! |
 |
| 6. After the holes are perfect, I router the housings where the steps will eventually sit. |
 |
| After setting the depth of the router, I get as close to the lines as I can manage. |
 |
| 7. More chisel work: now I square out the sides of the housing. |
 |
| 8. To make the tenon, I use our Skil saw to rough it in, break out the slats, then fine-tune with the chisel. |
 |
| Before cleaning up with the chisel on the left, after on the right. |
 |
| 9. Getting close to the end! Time to drill the holes for the pegs. |
 |
| Warren made this custom drill press for our badass DeWalt drill to ensure the holes are straight. |
 |
| One-inch holes for the end tenons. |
 |
| 3/4" holes for the railing mortise. I didn't document the making of that, but it happened. |
 |
| 10. After routering a decorative edge, the sanding commences. |
 |
11. Lastly we spray the finished beams with an insecticide/fungicide, seal the end-grains, and when that dries we oil them with a 50/50 mixture of raw linseed oil and pure gum spirits of turpentine. Voila!
|
|
|
| Detail view of the drawing and finished piece. |
Looks about right! The end is always extremely satisfying.


Comments
Post a Comment